- Details
- Category: Operations Guides
- Last Updated: Friday, December 8th, 2017
- Published: Thursday, December 11th, 2014
- Written by Chemayla & Ohnoto
Quick Info
8m Story Mode Health: 6,245,666
16m Story Mode Health: 11,333,195
Story Mode Enrage Timer: 6:45
8m Hard Mode Health: 7,527,889
16m Hard Mode Health:
Hard Mode Enrage Timer: 6:15
Added in Patch 3.0.0
The Ravagers
Sparky
Quartermaster Bulo
Chief Engineer Torque
Blaster & Master
Pirate Commanders
Screenshots
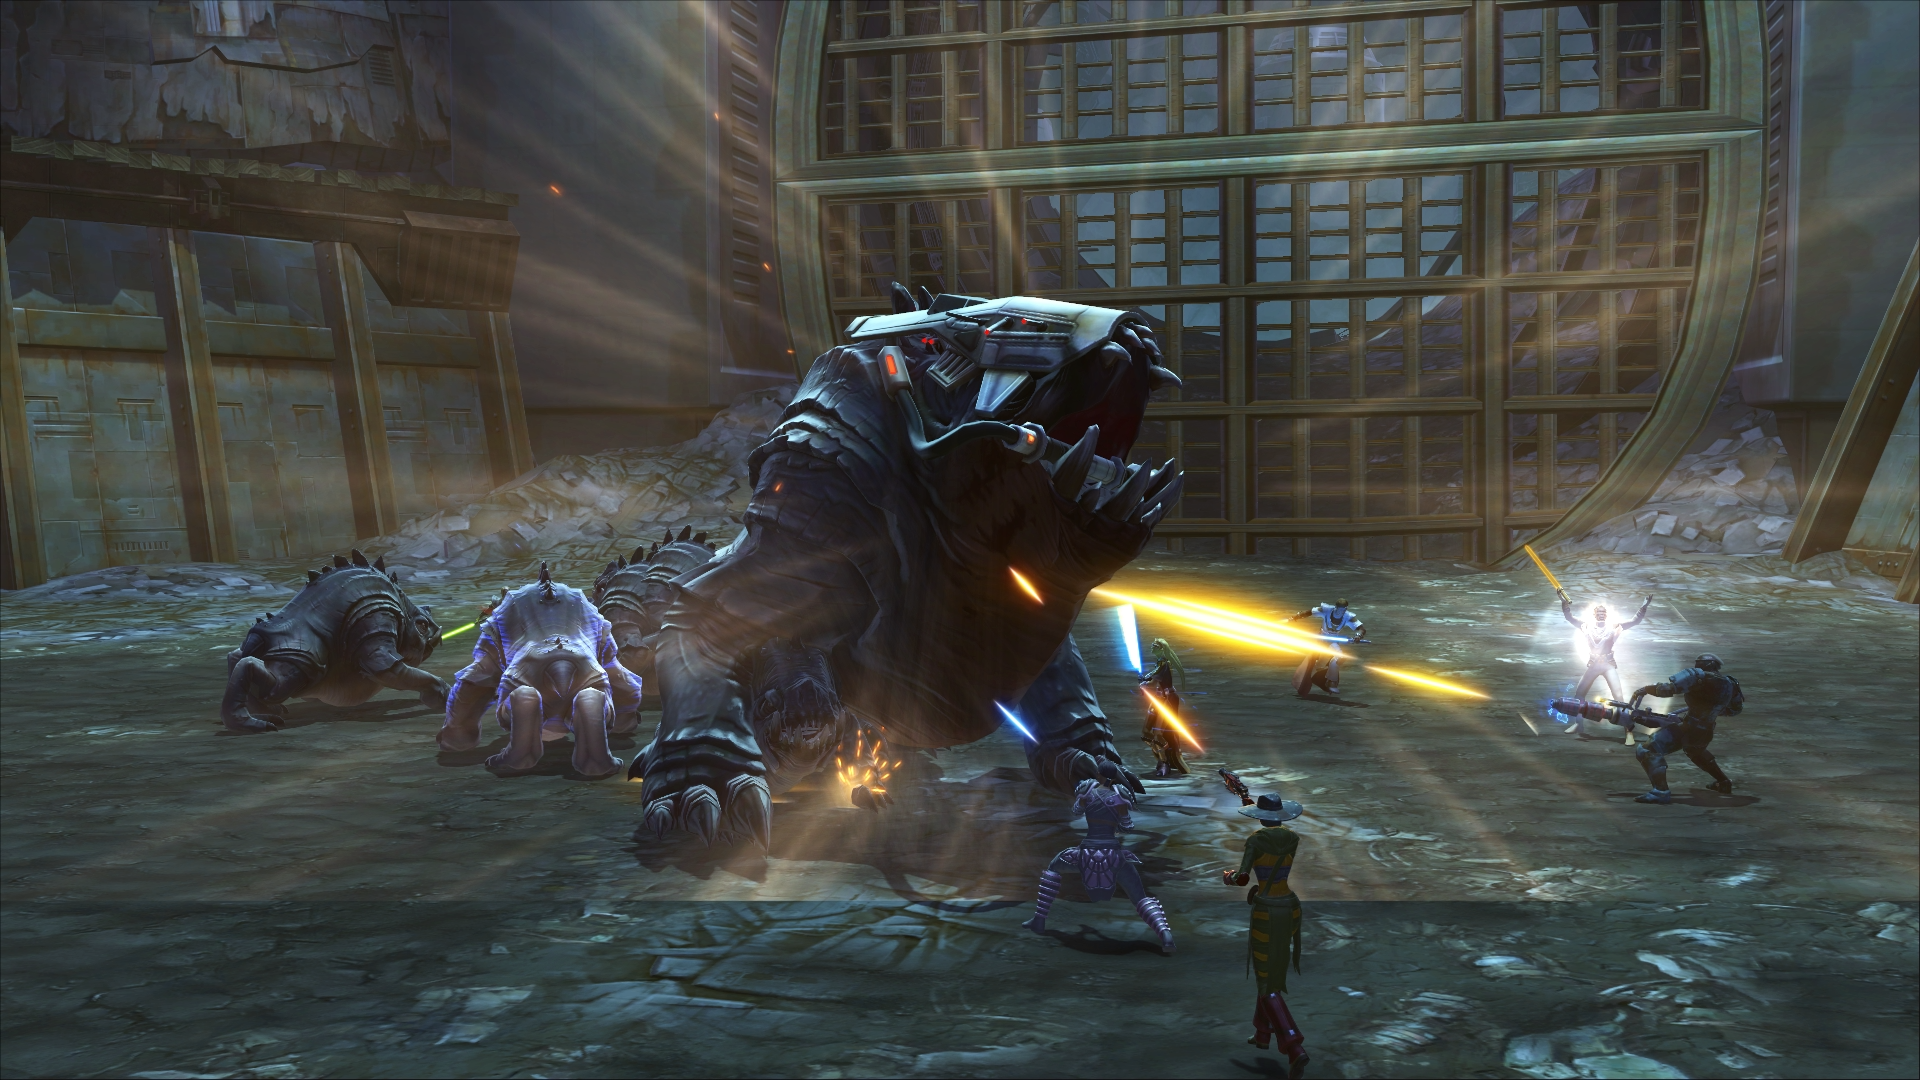
Sparky is the first boss in The Ravagers operation.
Video Guide
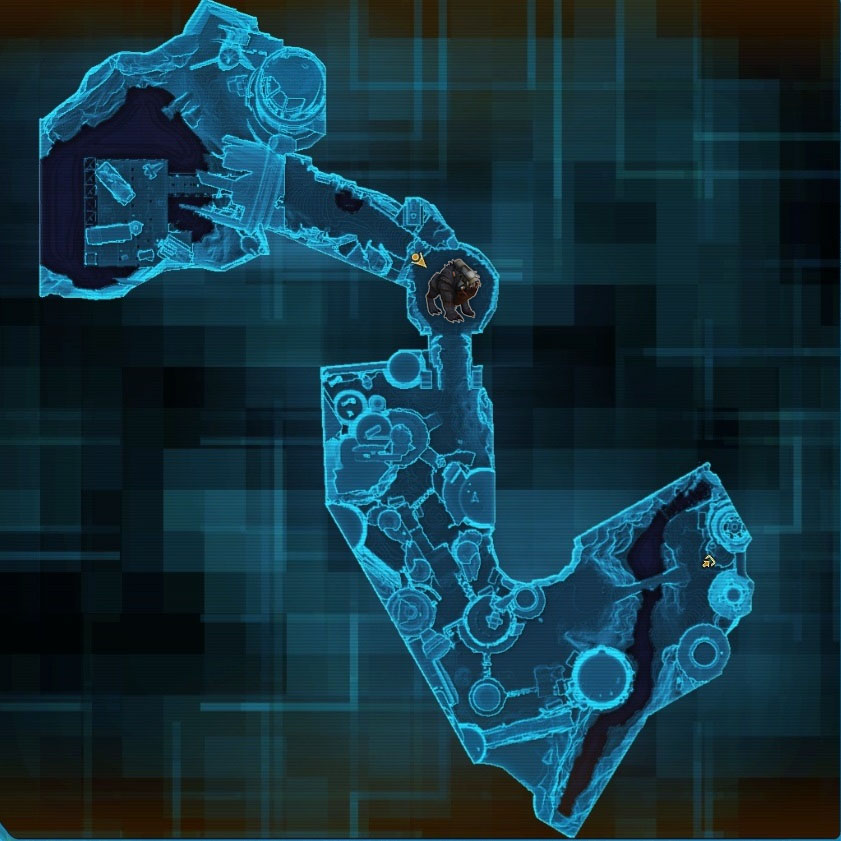
Map Location
 Story Mode
Story Mode Guide
Sparky is a tank and spank encounter. Throughout the encounter additional enemies will attack the operation team.
 Tanks
Tanks- When Sparky uses
 Shoulder Throw , the main tank will be launched away behind Sparky. Sparky will clear all threat from the main tank. The second tank should be utilize to pick up the boss quickly.
 - When the adds come out, Sparky will use
 Shield Collar Overdrive to shield himself. The main tank should continue to hold Sparky. The second tank should grab all of the adds.
 - When Sparky uses
 Rampage/Pounce , he will jump randomly at several players. During this time, Sparky is unable to be taunted.
 - When Sparky uses
 Pinned Down , he will jump on top of a random player for a short period of time. During this time, Sparky is unable to be taunted.
 DPS
DPS- When the additional enemies come out, all DPS players should turn and focus on those immediately.
- Once the Shield Collar Overdrive shield has expired, Sparky will fall on the ground. Sparky will take additional damage during this period. DPS should use their high damaging abilities while Sparky is laying on the ground.
- When Sparky uses Rampage/Pounce, he will jump randomly at several players. During this time, DPS players should spread out. As higher item rating gear is gained, players could group up for AOE heals.
- When Sparky uses Pinned Down, he will jump on top of a random player for a short period of time. The player pounced upon will be unable to move during the duration of the ability.
 Healers
- When the additional enemies come out, if a healer is targeted, be sure to move towards the tank, for the tank to grab the adds.
- When Sparky uses Rampage/Pounce, he will jump randomly at several players. During this time, healers should spread out. As higher item rating gear is gained, players could group up for AOE heals.
- When Sparky uses Pinned Down , he will jump on top of a random player for a short period of time. Be sure to focus healing towards the player pinned down.
Near the end of the fight near 30% he'll put up a shield again ![]() Shield Collar Overdrive. Burn it down and ignore any adds he spawns. This is the final burn phase and will end the fight. After the boss is dead clean up any adds left over.
Shield Collar Overdrive. Burn it down and ignore any adds he spawns. This is the final burn phase and will end the fight. After the boss is dead clean up any adds left over.
 Hard Mode
Hard Mode Guide
Hard mode is pretty similar with only a few changes.
Sparky will have a buff called ![]() Safety of the Pack which will make adds stronger if they are near him. The goal in hard mdoe is to keep the adds outside of the circle Sparky casts around himself to avoid this. Dps and Healer should spread out around the circle so the adds stick to them before going toward the tank inside the circle. The tank not on the boss call also "pull" adds outside the circle range that do manager to get to the boss.
Safety of the Pack which will make adds stronger if they are near him. The goal in hard mdoe is to keep the adds outside of the circle Sparky casts around himself to avoid this. Dps and Healer should spread out around the circle so the adds stick to them before going toward the tank inside the circle. The tank not on the boss call also "pull" adds outside the circle range that do manager to get to the boss.
Stacks of ![]() Rending Swipe will accumiltate on the tank which can prove difficult in the burn phase at the end.
Rending Swipe will accumiltate on the tank which can prove difficult in the burn phase at the end.
Sparky will place a debuff on the tanks ![]() Delicious and they will need to swap after 2 stacks. While still managing to keep the adds outside of Sparky's circle.
Delicious and they will need to swap after 2 stacks. While still managing to keep the adds outside of Sparky's circle.
During the phase where Sparky ![]() Pinned Down the tank. All of the other raid members need to get inside Sparky's circle and dps him quickly. Staying outside the circle could result in a one shot to the tank.
Pinned Down the tank. All of the other raid members need to get inside Sparky's circle and dps him quickly. Staying outside the circle could result in a one shot to the tank.
When you reach the burn phase Sparky will become ![]() Despiration and will no longer be able to use his pack ability. Burn him as usual to end the fight, ignoring the adds.
Despiration and will no longer be able to use his pack ability. Burn him as usual to end the fight, ignoring the adds.
Abilities
| Name | Desription | Damage Type | Mode | |
| Answering the Call (Adds) | Damage Taken reduced by 90% Immunte to taunts. Effect will end upon entering a [Command Pressence] aura. | Nm? | ||
| Body Slam | Body Slam Knockdown. Knocked down and unable to act. | Kinetic | All Modes | |
| Brutalize | [Pinned Down] and unable to act or be resuced. Taking very heavy damage over time. | All Modes | ||
| Command Pressence | Directs pack members within 15m to attack target. | Hard Mode |
||
| Delicious | Target appears quite tasty. Taking 20% increased damage per stack. | Hard Mode |
||
| Desperation | Unable to maintain [Command Presence] Cooldown of pack calling abilities drastically reduced. | Hard Mode |
||
| Enrage | 200% increased damage | All Modes | ||
| Ignore | Not Delicious. Target is apparently a bit of an aquired taste. Ignored by Sparky | Hard Mode |
||
| Injured | Target has been shaken by accumilated injury and is momentarily unable to act. | All modes | ||
| Mark Target | Orders Adds Within 15m to Attack Target | Hard Mode |
||
| Pounce/Rampage | In a frenzied rampage, immune to taunts, jumping at random targets. Command Aura Suppressed. |
Kinetic | All Modes | |
| Rending Swipe (Adds) | Place debuff on player - 4% increased damage per stack. Does not clear in Hard Mode |
Kinetic | All Modes | |
| Roar/Forceful Roar/Desperate Roar | Dealing internal damage over time. | Internal | All Modes | |
| Safety of the Pack | [Command Pressence Aura] also provides 50% damage reduction to pack members within range. | Hard Mode |
||
| Shield Collar | Damage received reduced by 50%. Did someone actually make a collar out of an old shield generator? | All Modes | ||
| Shield Collar Overdrive | Absorbs 100% of incoming damage. At this level of output the shield collar will probably overload if stressed. | All Modes | ||
| Shield Collar Overload | Stunned and unable to act. This collar cannot repel fireppower of that magnitude. Becomes [Injured] | All Modes | ||
| Shoulder Throw | Tosses tank dropping aggro. Debuff placed on the player. |
All Modes | ||
| Single Minded (Adds) | Unless otherwise compelled attacks the closest target | All Modes | ||
| Unshakable | ?? | |||
| Unwavering Resolve | Sparky becomes immune to damage. | All Modes |
Loot
Story Mode Loot
| Name | 8 Man Quantity | 16 Man Quantity | Item Rating |
| Resurrected Implant Token | 1 | 2 | 192 |
| Random Massassi Item | 1 | 2 | 192 |
| 1 | 1 | ||
| Elite Commendation | 4 | 4 |
Hard Mode Loot
| Name | 8 Man Quantity | 16 Man Quantity | Item Rating |
| 1 | 1 | ||
| Revanite Implant Token | 1 | 2 | 198 |
| Deceived Random Item | 1 | 2 | 198 |
| Elite Commendation | 8 | 8 | |
| Ultimate Commendation | 6 | 6 |